Products You May Like
This post and photos may contain Amazon or other affiliate links. If you purchase something through any link, I may receive a small commission at no extra charge to you. Any supplies used may be given to me free of charge, however, all projects and opinions are my own.
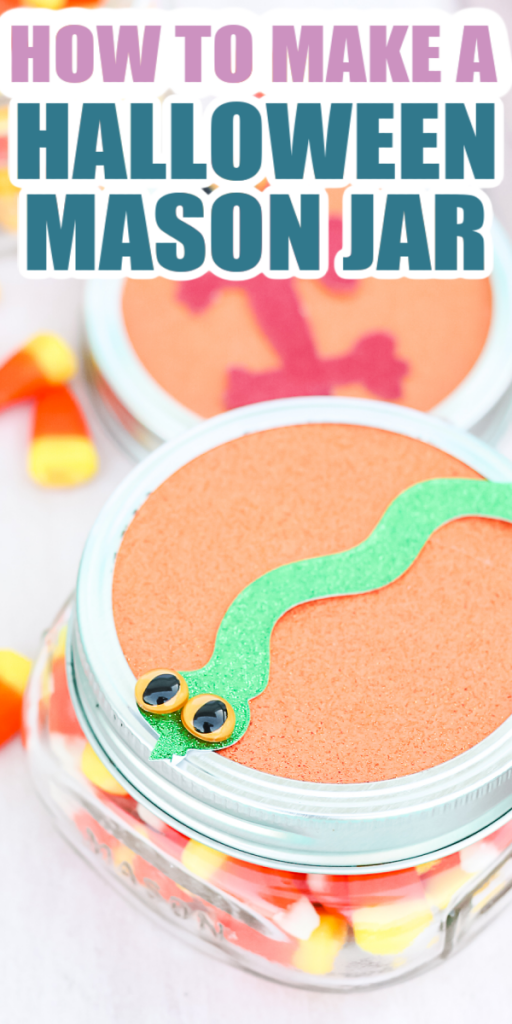
I love Halloween y’all. I have already started my Halloween crafting with these Halloween mason jar toppers. You will love to make these for Halloween party favors or even a large jar for a Halloween party hostess gift. However you use them, these Halloween mason jar toppers will be the hit of the party. You can use any Cricut machine to cut paper into spooky shapes that will be perfect for the tops of these small mason jars. These would also be great in a boo bag for your neighbors so be sure to make quite a few!
This one was first published on September 4, 2014, however, I am republishing it with more information.
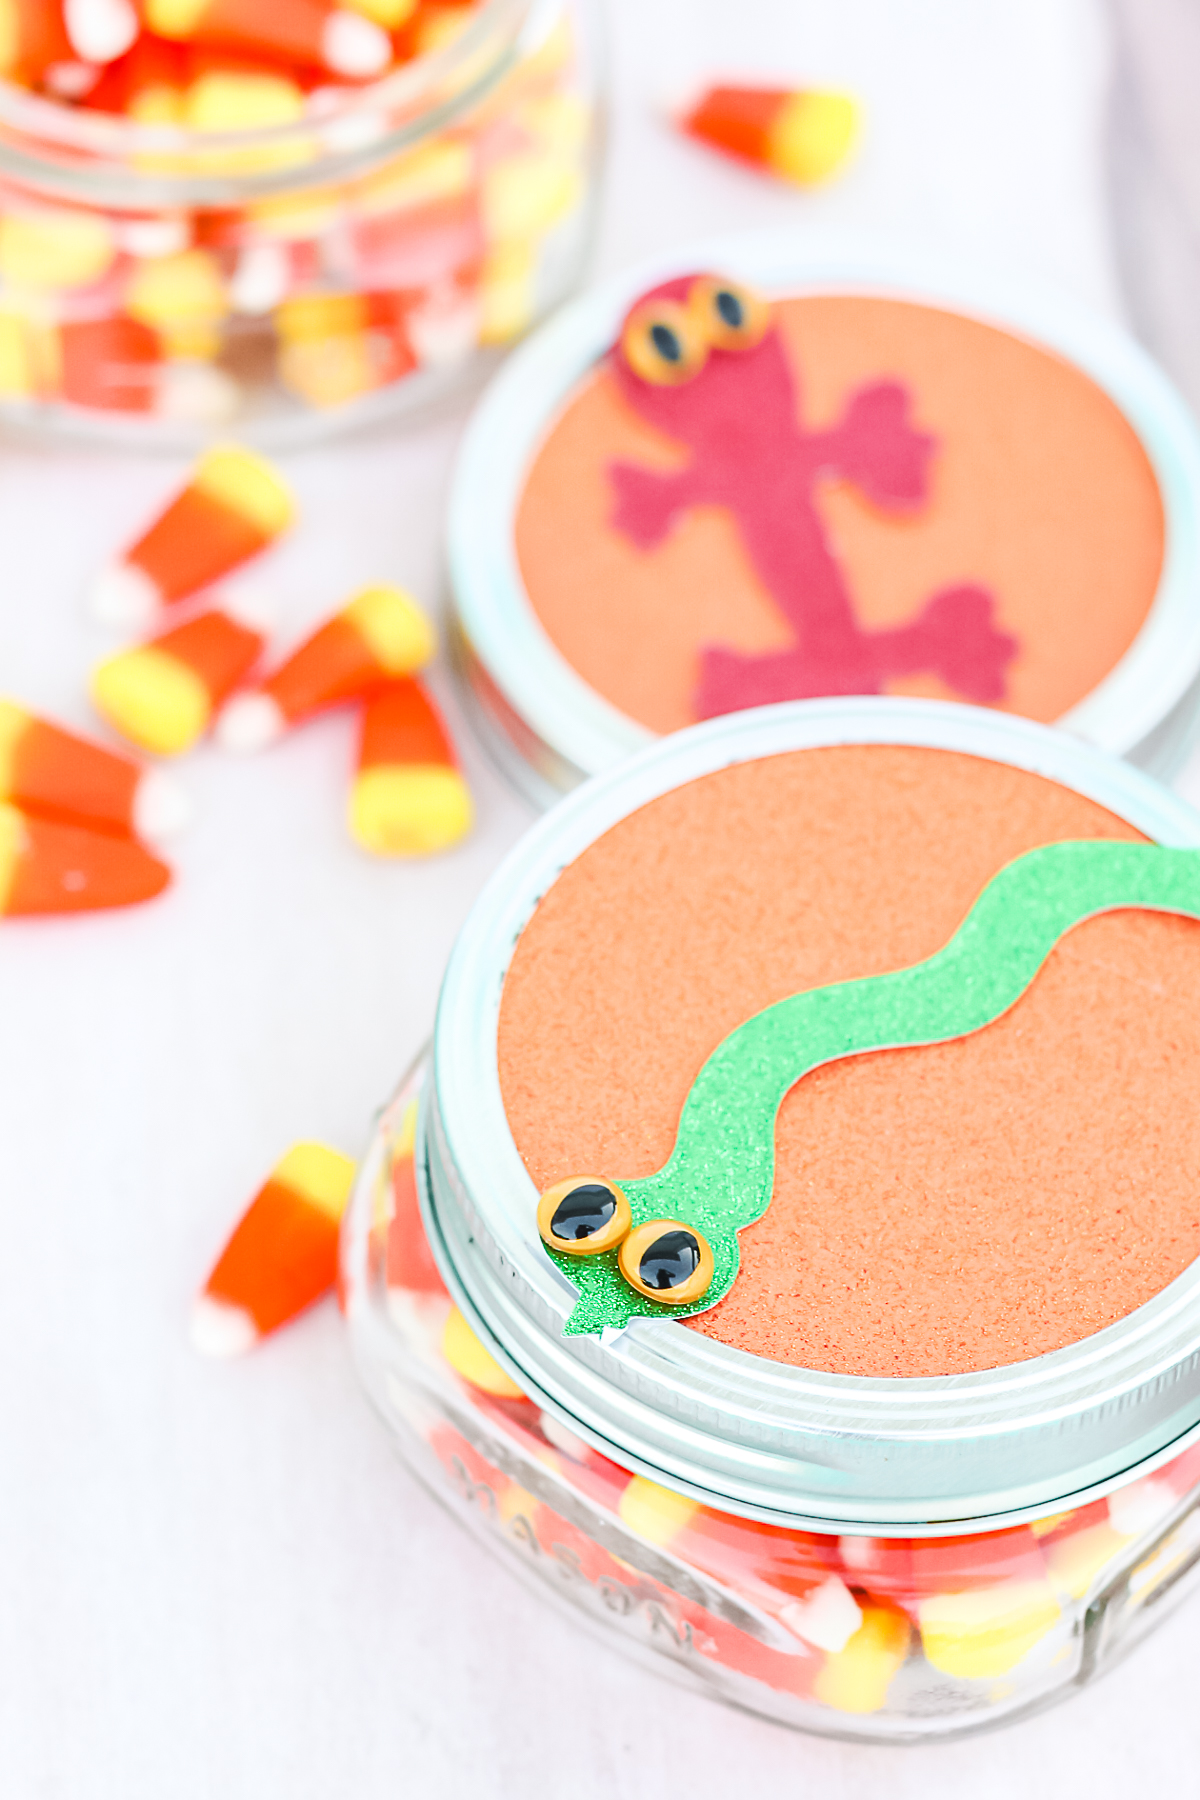
Halloween Mason Jar
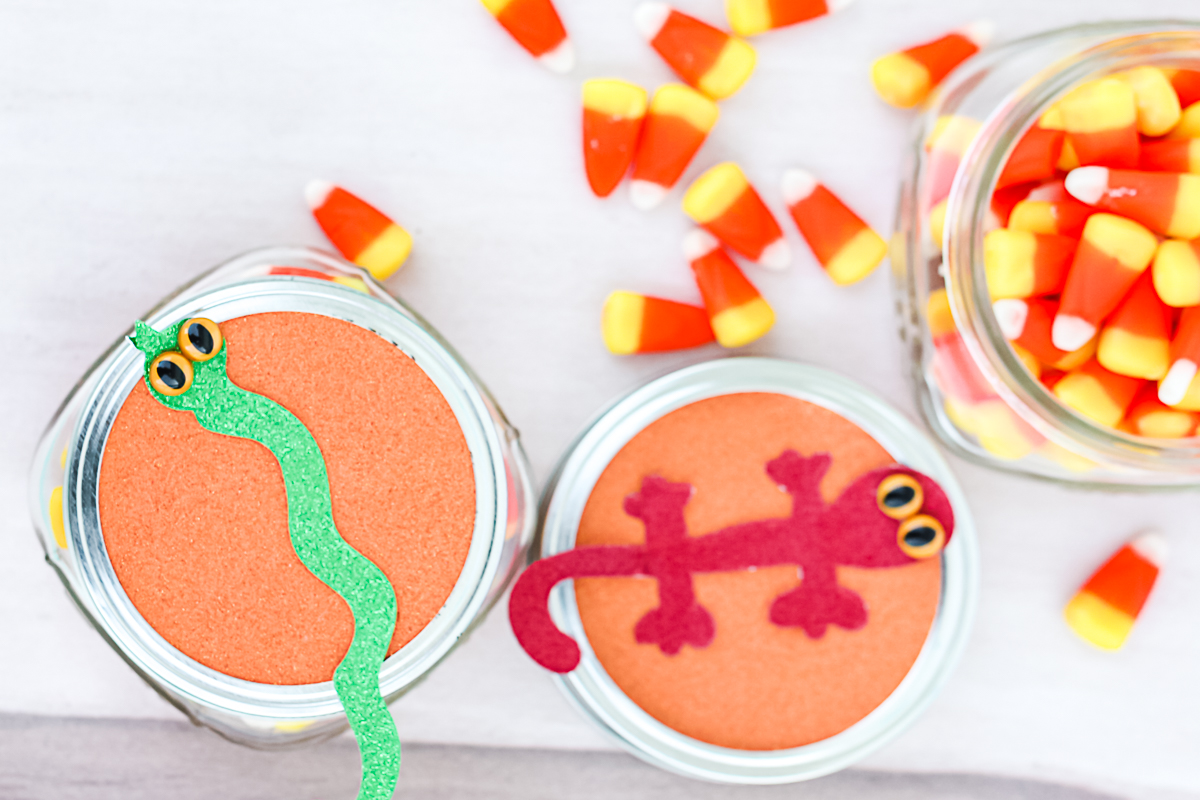
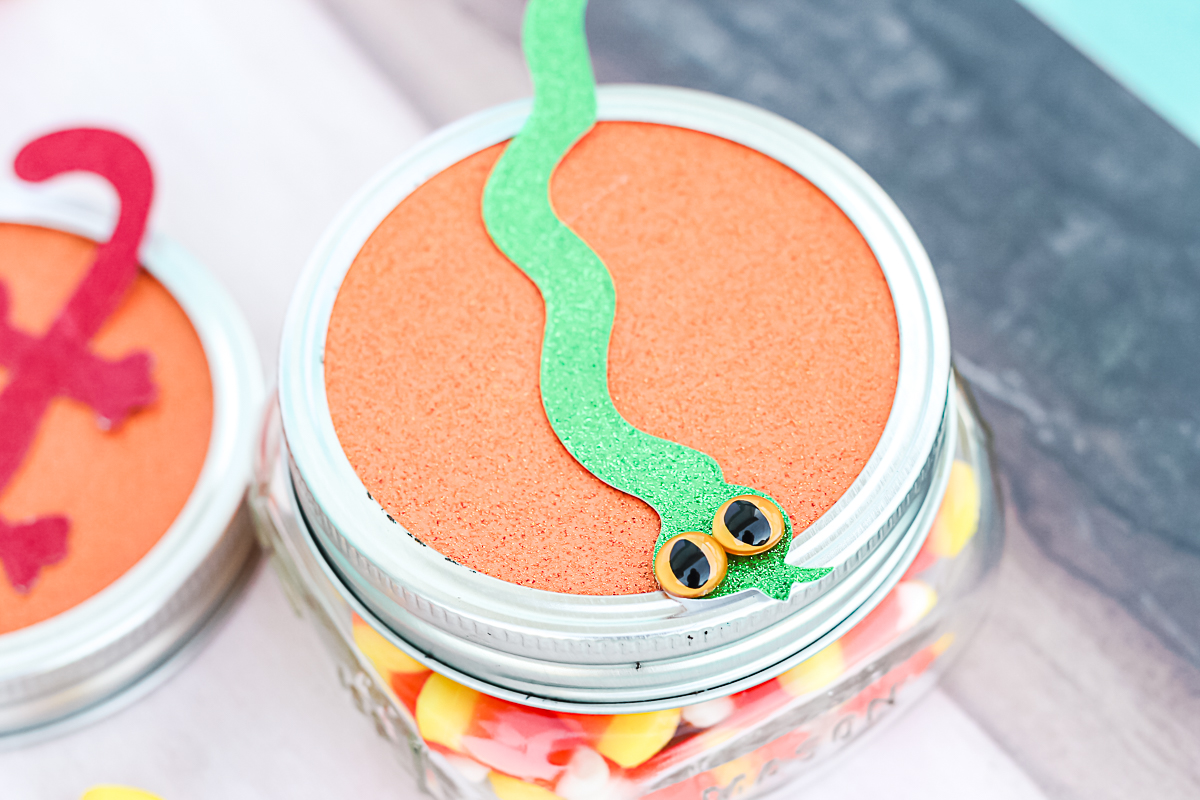
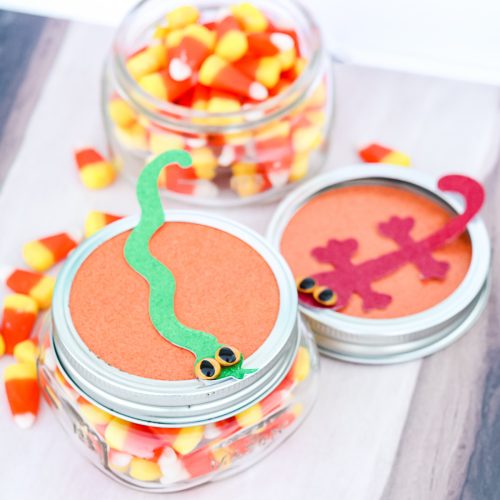
I choose a snake and lizard for the tops of my jars, however, any spooky shape will be perfect for this project. You can even use this ghost SVG file. Whatever you think will look great on your jars is perfect for this project.
Supplies needed:
How to Make Mason Jar Halloween Toppers
- Cut all of your pieces from glitter cardstock. The shapes that I used are no longer available, however, I have a Cricut cut file here with similar shapes. For each jar, you will need a circle to cover the mason jar lid as well as a spooky shape of your choice.
- Prepare the eyes by removing the post on the back. I used an old pair of scissors to cut them off. If your google eyes do not have a post, you can skip this step.
- Use hot glue to secure everything to the top of the mason jar. Add the circle to the top of the jar lid then add your shape as well as the cat eyes. You might want to also secure the band to the lid so it will all stay together when removed from the jar.
- Then just fill your jar with the candy of your choice and put the lid on top. These are ready to be delivered to your neighbor, friend, or handed out at a fun Halloween party.
Which one is your favorite? The lizard or the snake? I really like them both and they are perfect for Halloween giving.
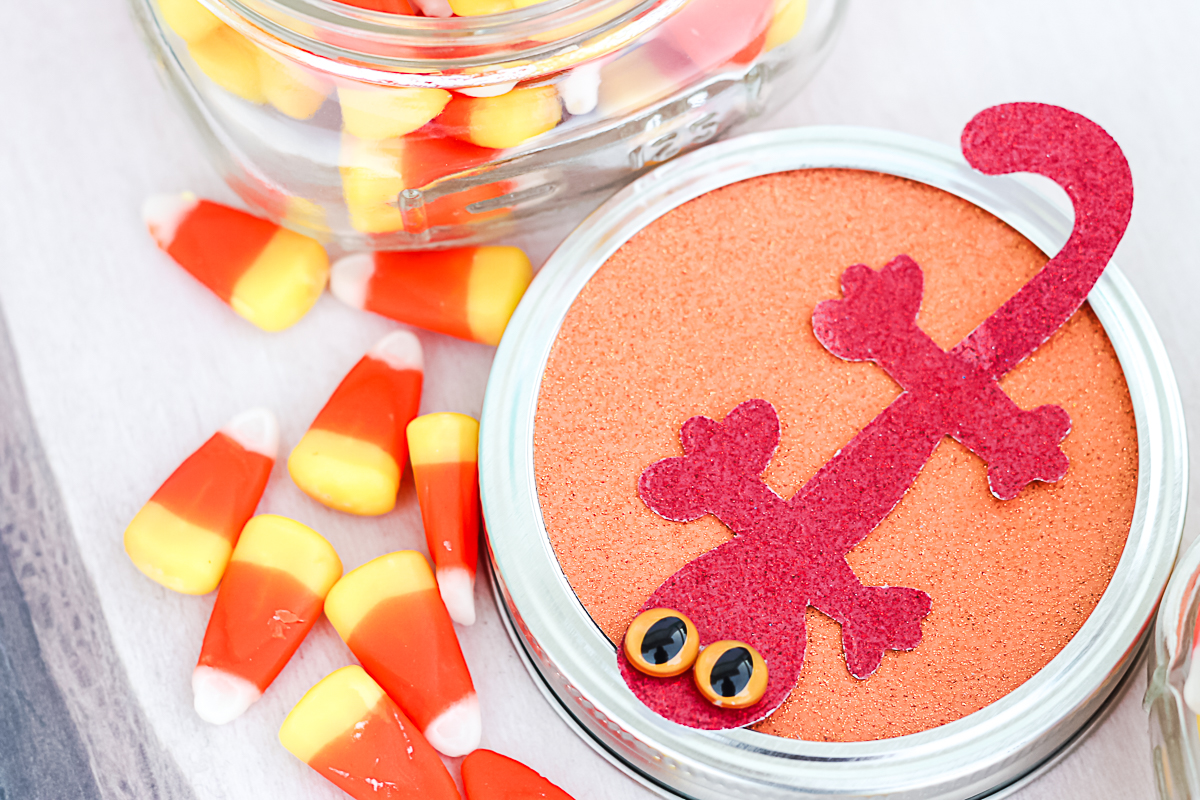
Perhaps lizards and snakes are not your thing? Replace them with a ghost, skull, pumpkin, or any other shape that you love for this time of year.
Halloween is one of my favorite holidays so I love breaking out my Cricut machine and getting crafty. From favors to decor, you can make so much with your machine for just about any holiday.
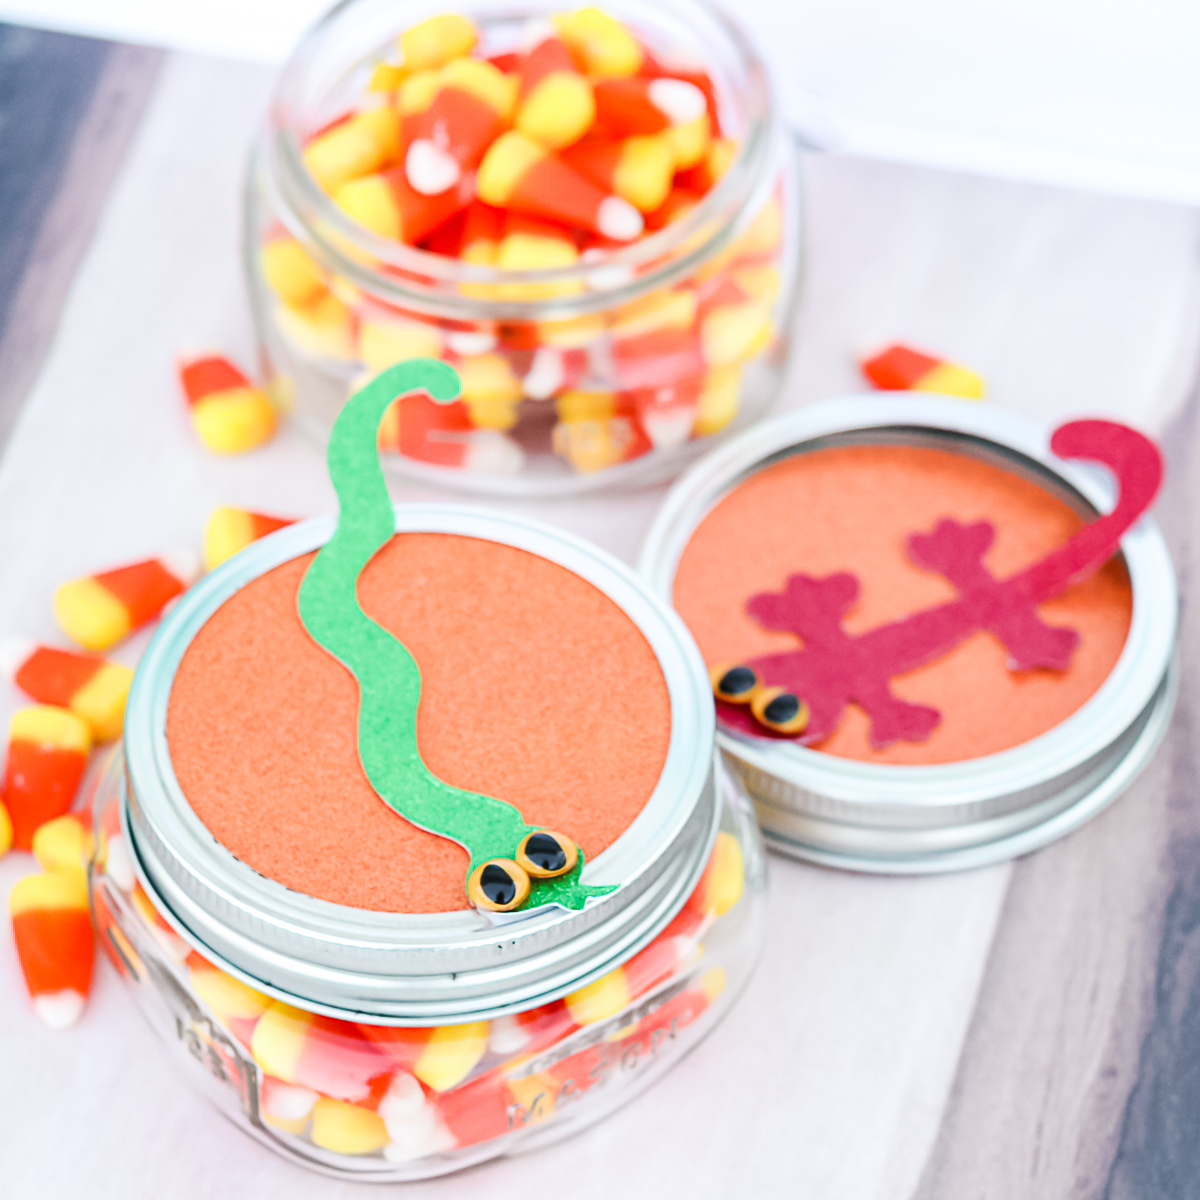
So, if you need me, I will be making a list of people that need a Halloween mason jar this year. I know everyone will love these cute Halloween gift ideas this fall!

Love this Cricut Halloween craft and want more ideas? Try the links below as well!
Make these cute DIY Halloween bags in minutes with a few supplies and your Cricut machine.
Add some fright to your front porch by using your Cricut to make a DIY Halloween pillow!
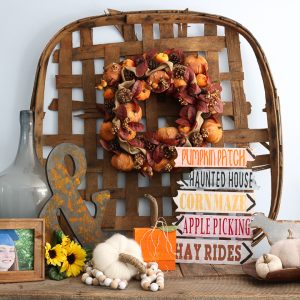
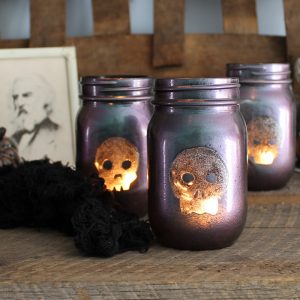
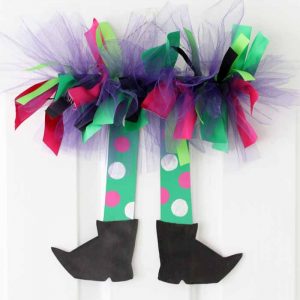
Make these fun and colorful Halloween witch legs–a unige Halloween door decor idea!
You can also use the card below to print this Halloween jar craft!
Halloween Mason Jar
Make these cute jars with your Cricut machine and some paper! Everyone will love getting these as a gift this fall.
Supplies
- Cricut machine any will work for this project
- Yellow Eyes
- Squat Mason Jars These are my favorite for this project but you can change it up for other mason jar types as well.
- Glitter Paper I am using three colors of paper.
- Hot glue gun and glue
- Candy to fill jars
- Scissors
- Cricut cut file
Instructions
-
Cut all of your pieces from glitter cardstock. The shapes that I used are no longer available, however, I have a Cricut cut file here with similar shapes. For each jar, you will need a circle to cover the mason jar lid as well as a spooky shape of your choice.
-
Prepare the eyes by removing the post on the back. I used an old pair of scissors to cut them off. If your google eyes do not have a post, you can skip this step.
-
Use hot glue to secure everything to the top of the mason jar. Add the circle to the top of the jar lid then add your shape as well as the cat eyes. You might want to also secure the band to the lid so it will all stay together when removed from the jar.
-
Then just fill your jar with the candy of your choice and put the lid on top. These are ready to be delivered to your neighbor, friend, or handed out at a fun Halloween party.
