Products You May Like
*This post contains affiliate links.
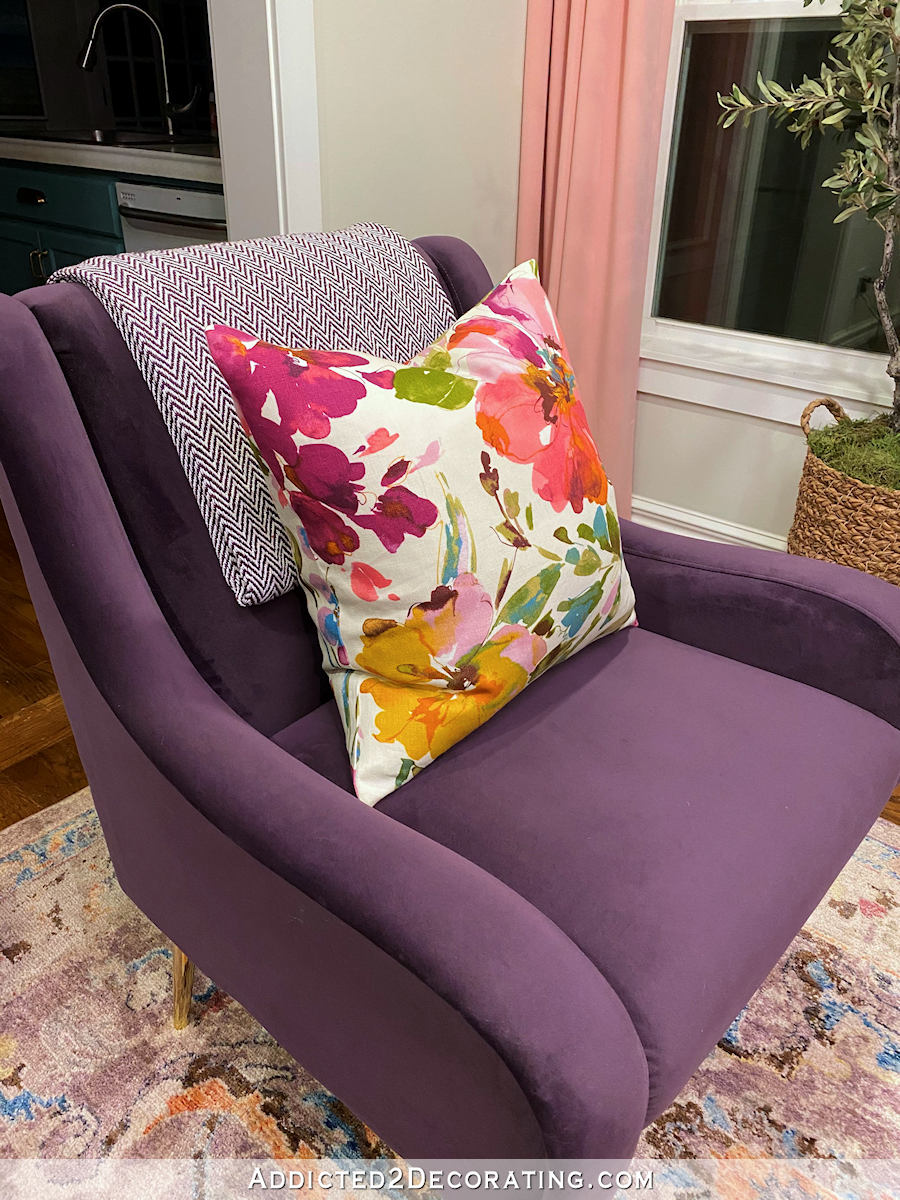
I have finally added some of my beautiful floral fabric to the living room. The fabric is by P. Kaufman, and it’s called Paint Palette. It comes in at least three colorways, and this one is called Punch. I had originally intended to upholster the backs of two chairs with this fabric, but as my plans for the living room evolved, and I ended up purchasing two new purple chairs, I had to come up with a new plan for the fabric. So I used it to make two pillows to go in the purple chairs.
I made these with zippers on the bottom so that they can be removed and washed.
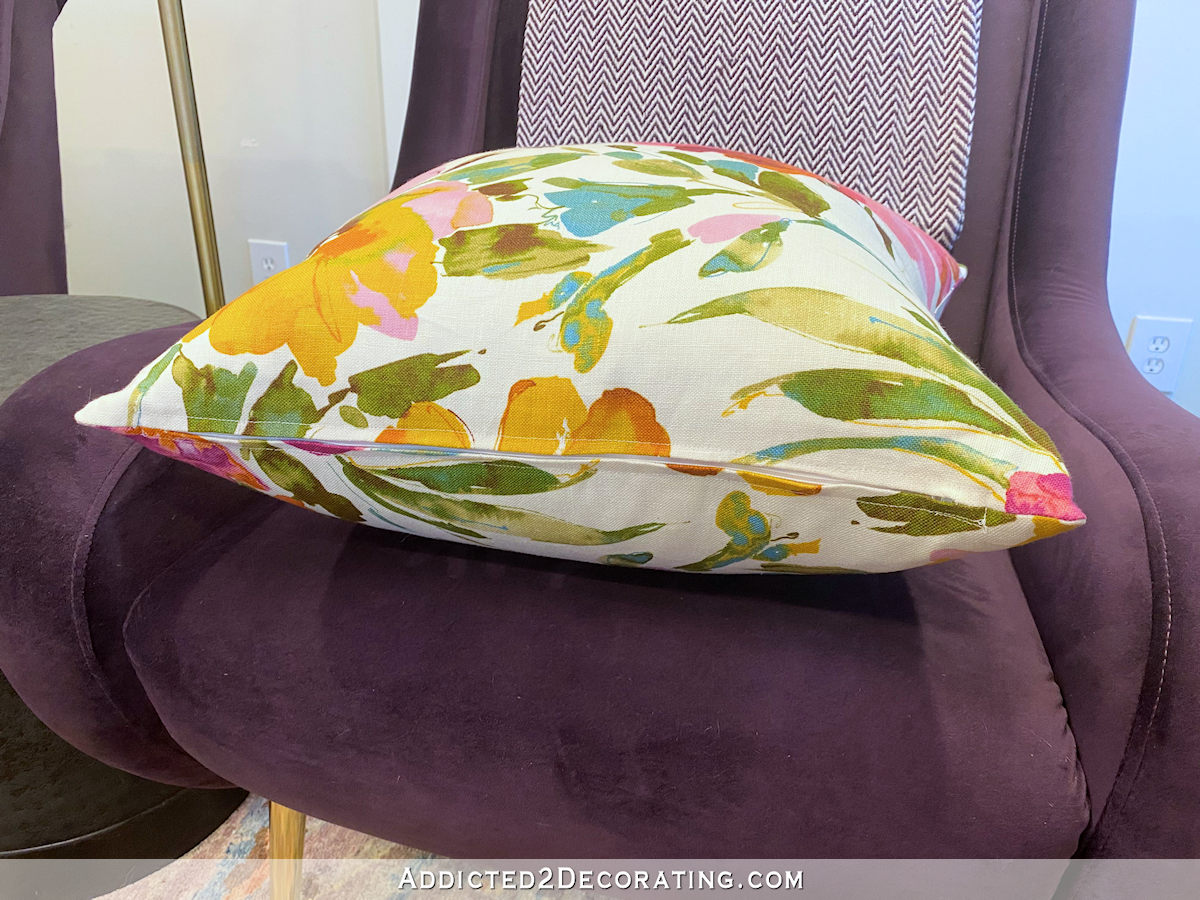
So for those of you who have never sewn a pillow cover with a zipper, I thought I’d show you the process so you can see just how easy it is. Quite honestly, I find sewing zippered pillow covers to be easier than permanent, non-zippered covers. With the covers that are sewn on all four sides to create a permanent cover on the pillow, you either have to sew the fourth side by hand, which takes much longer than sewing a zipper in, or you have to wrangle a stuffed pillow cover and smush it down enough to get the edges under a sewing machine foot.
I find sewing in a zipper to be much easier than either of those options, and then you have the added advantage of easily being able to remove and wash the pillow cover when needed.
To make my pillow cover, I started by measuring the pillow from one side seam to the other.
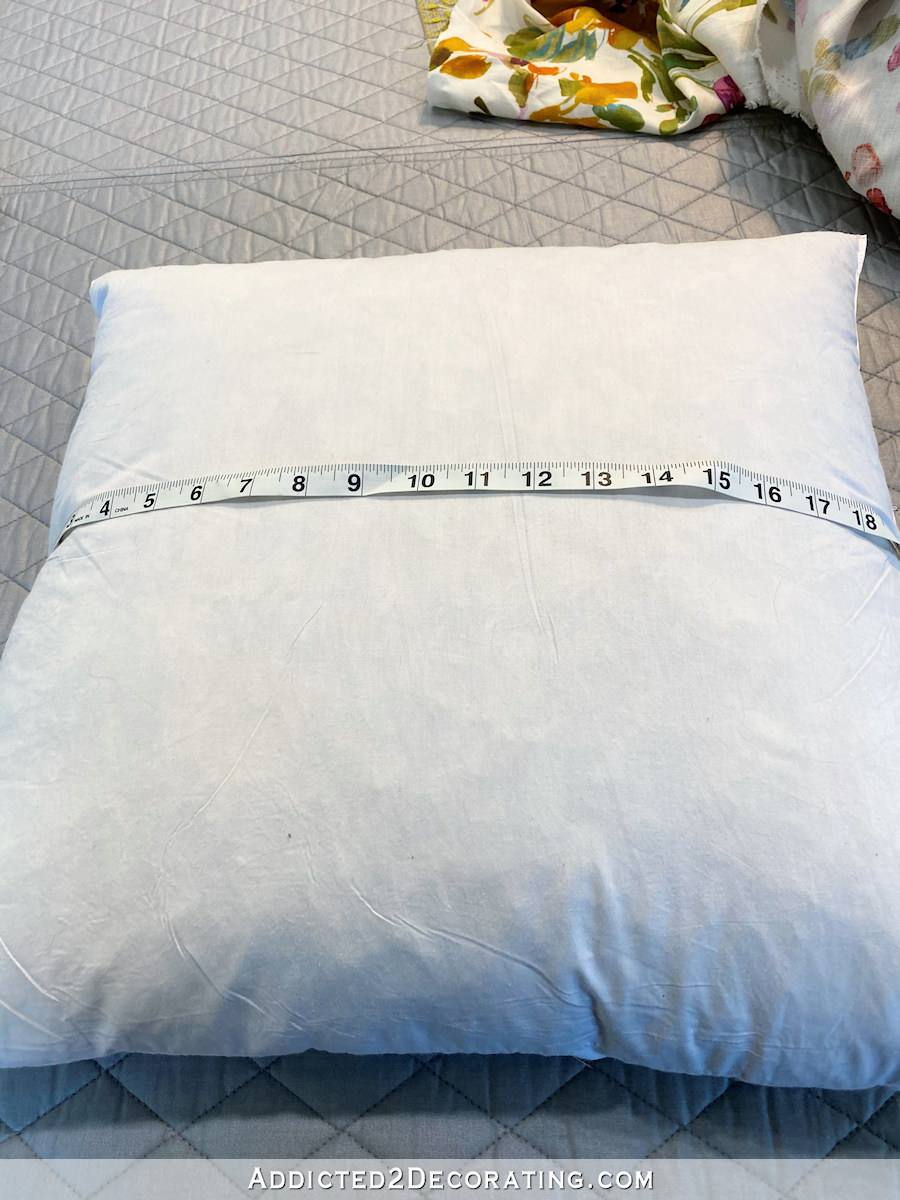
My pillow insert was 20.5 inches square.
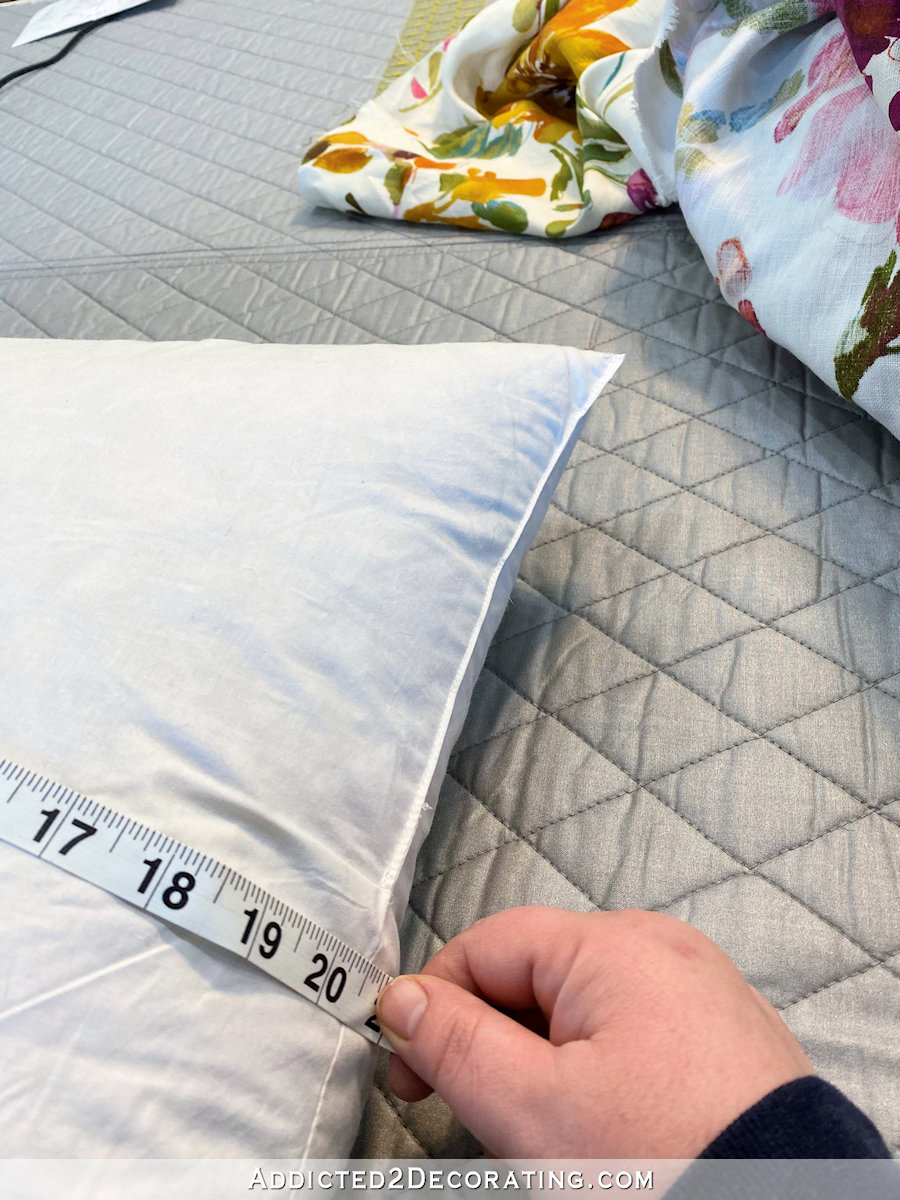
So I cut my fabric to exactly 20.5 inches square. I don’t add to the dimensions for seam allowances because I like my pillows to be plump. So placing a 20.5-inch pillow insert into a slightly smaller pillow cover gives them that fuller, plump look.
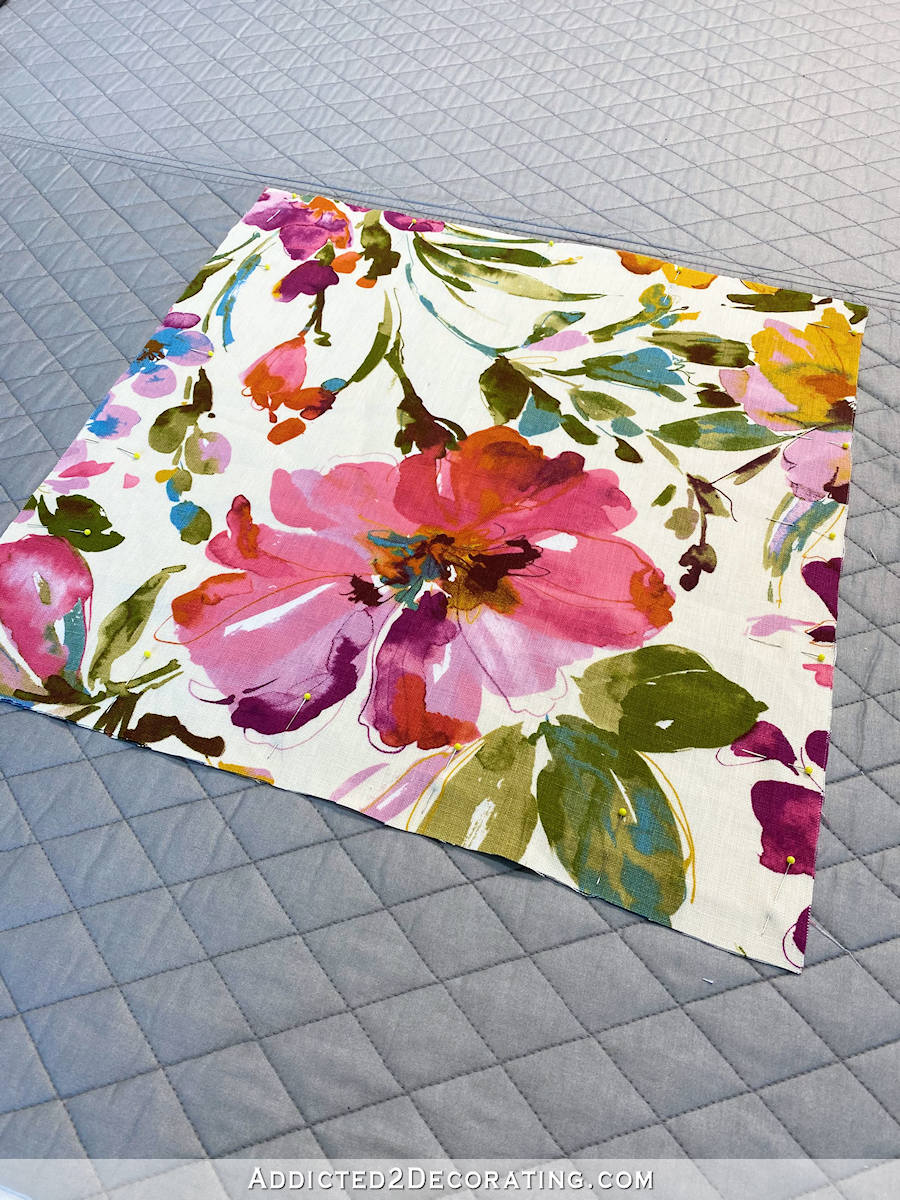
Since I was working with linen, which tends to fray very easily on the cut edges, I took each individual piece to the machine and did a zigzag stitch all around the edges. I couldn’t get too close to the edge with the linen because it would curl and gather the fabric, but at least this zigzag stitch created a stop where the fabric could not fray past that point.
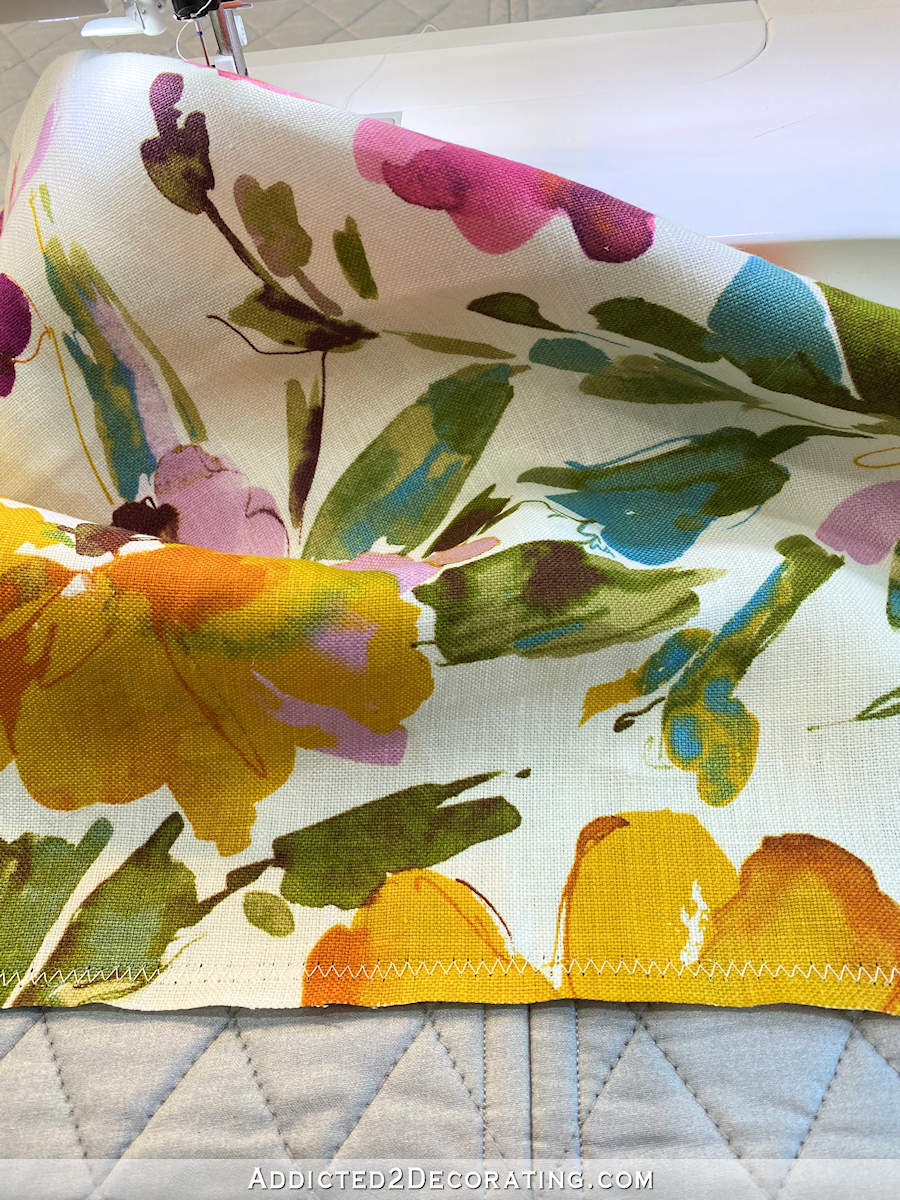
You can also use a product like Fray Check around the edges to keep the fabric from fraying. I personally find using Fray Check to be the better option, but I didn’t have any on hand. So I went with the zigzag stitch.
After zigzag stitching around all four edges on both pieces, I ironed each piece so that the edges lay perfectly flat.
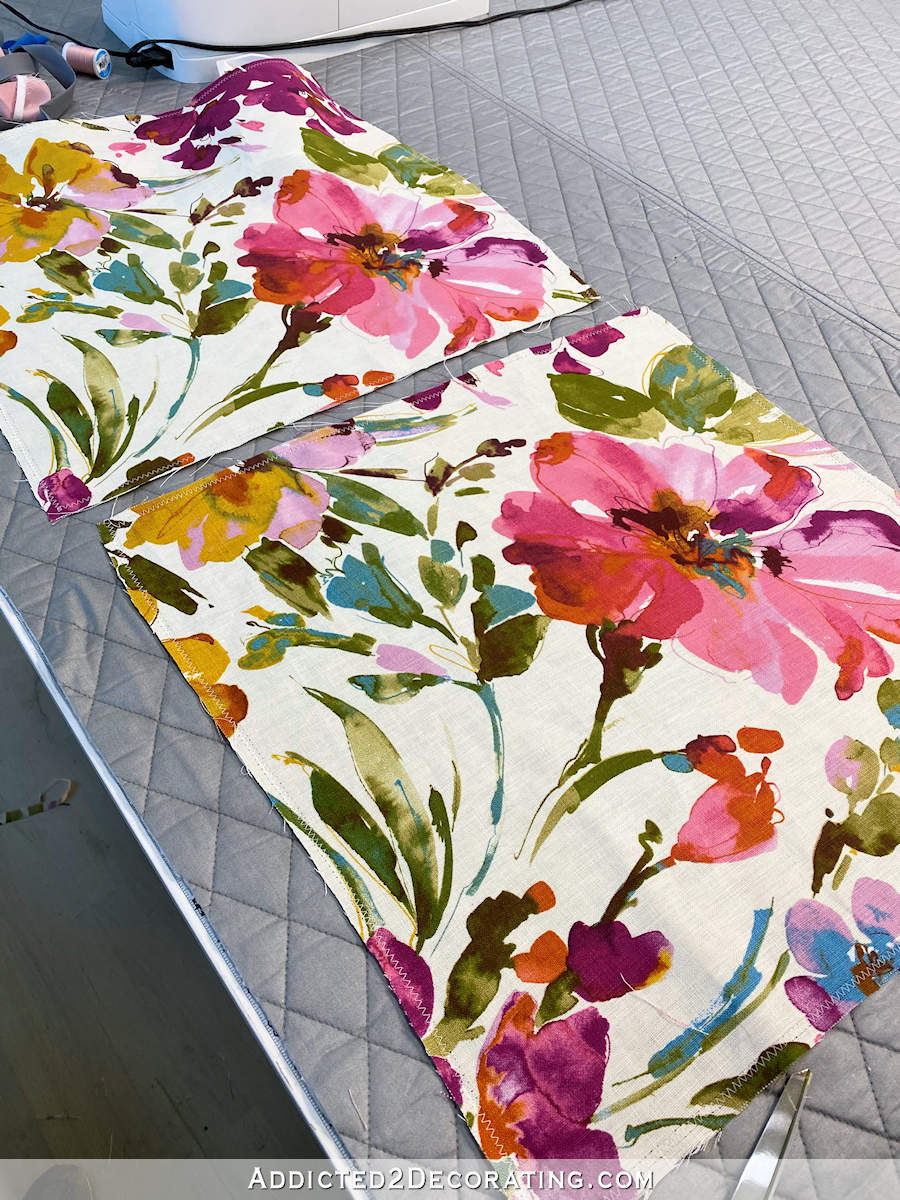
Then I placed the two pieces together, right sides together, and pinned the bottom edges together.
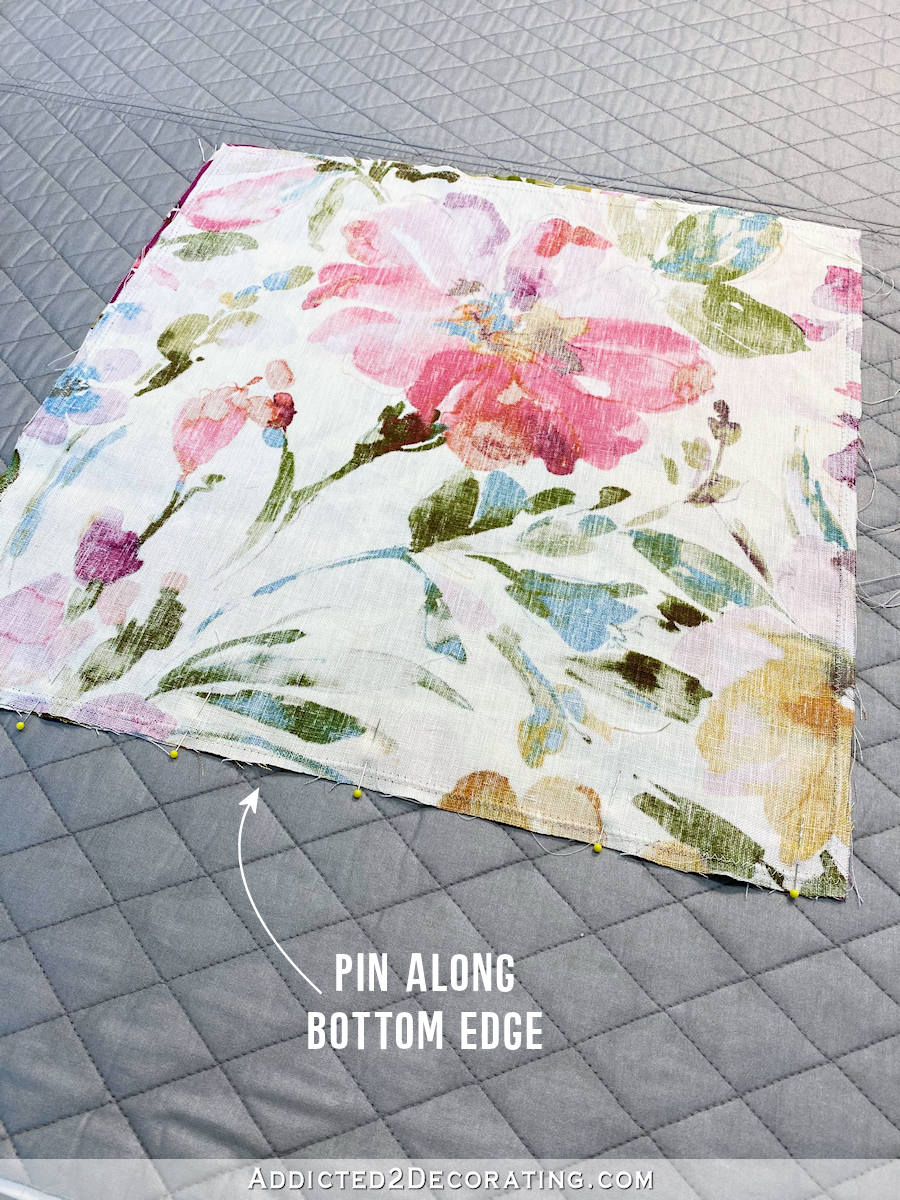
Using my ruler, I measured and marked 2.5 inches from the edge. It’s better to use a fabric marker, but I didn’t have one, so I used a pencil. 😀 This is not an advisable method of marking on fabric, so do as I say and not as I do. Use a fabric marker.
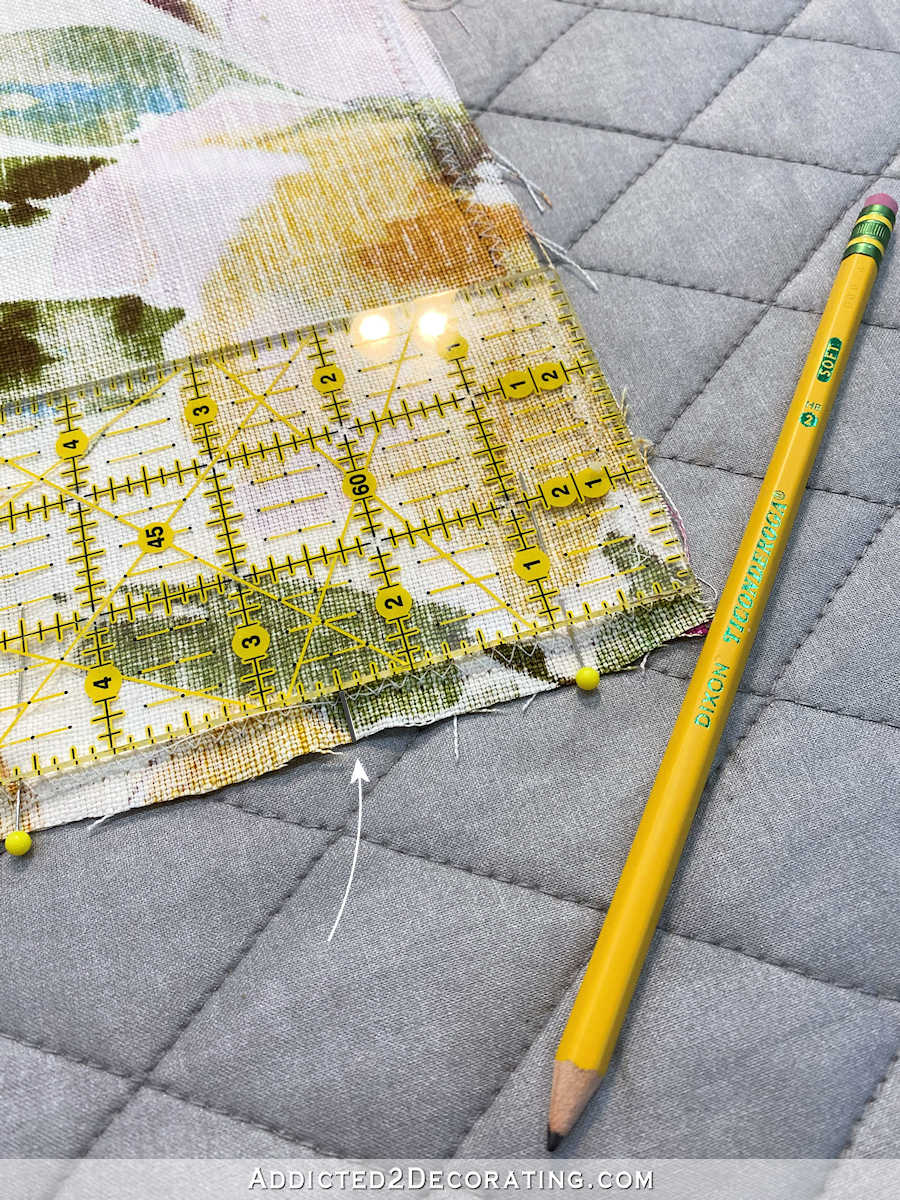
And then I repeated that on the other side.
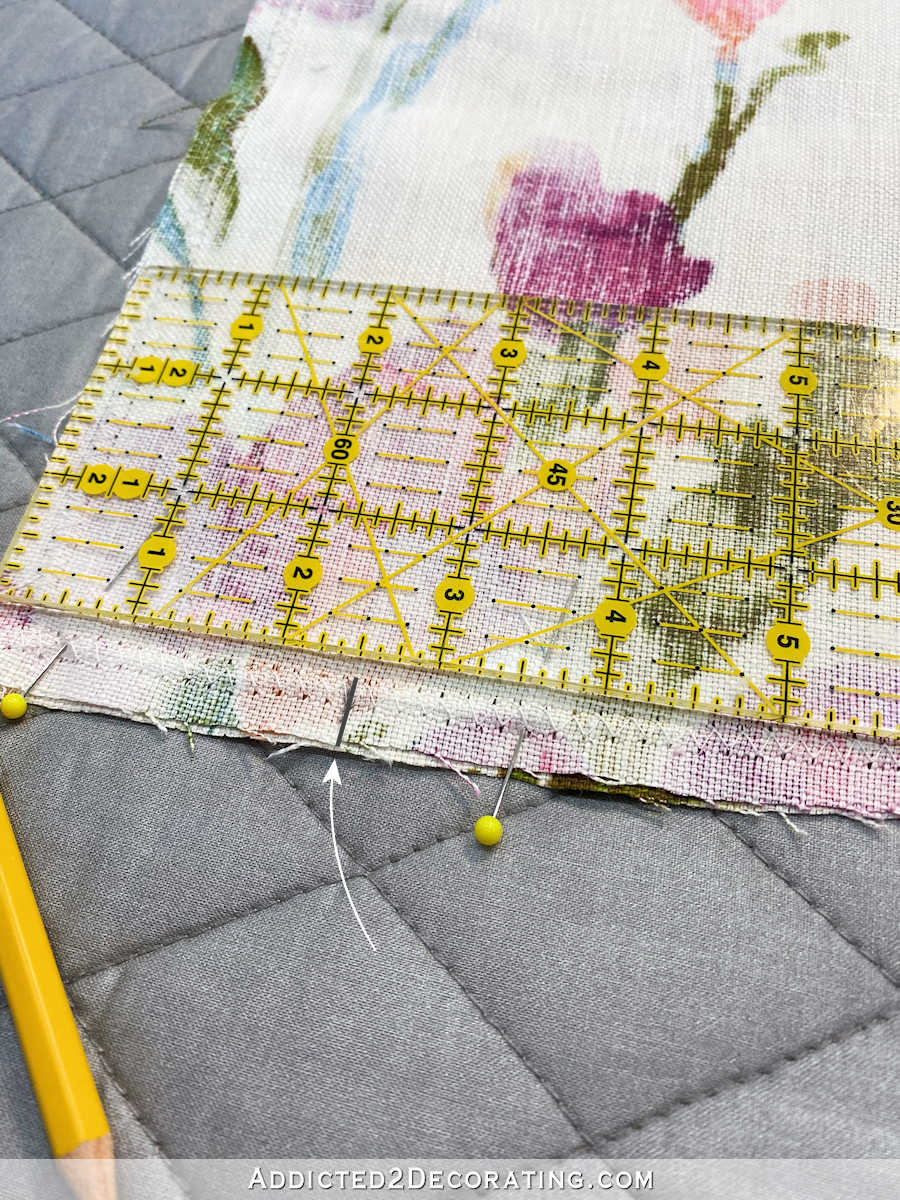
Then I was ready to take this to the sewing machine and sew that bottom edge using a 1/2-inch seam. Since this is the edge where the zipper will go, and the zipper will go between those marks made in the above steps, I sewed with a regular stitch on the outside 2.5 inches, and then used a basting stitch on the area between the two marks. I’ve added lines to the picture below to depict what I’m talking about…

If you’re new to sewing and unfamiliar with the lingo, a basting stitch is simply a large stitch, either done quickly by hand or by machine with the stitch set to the longest possible length. Basting stitches are generally temporary stitches, and the long length makes them very easy to remove after they have served their purpose.
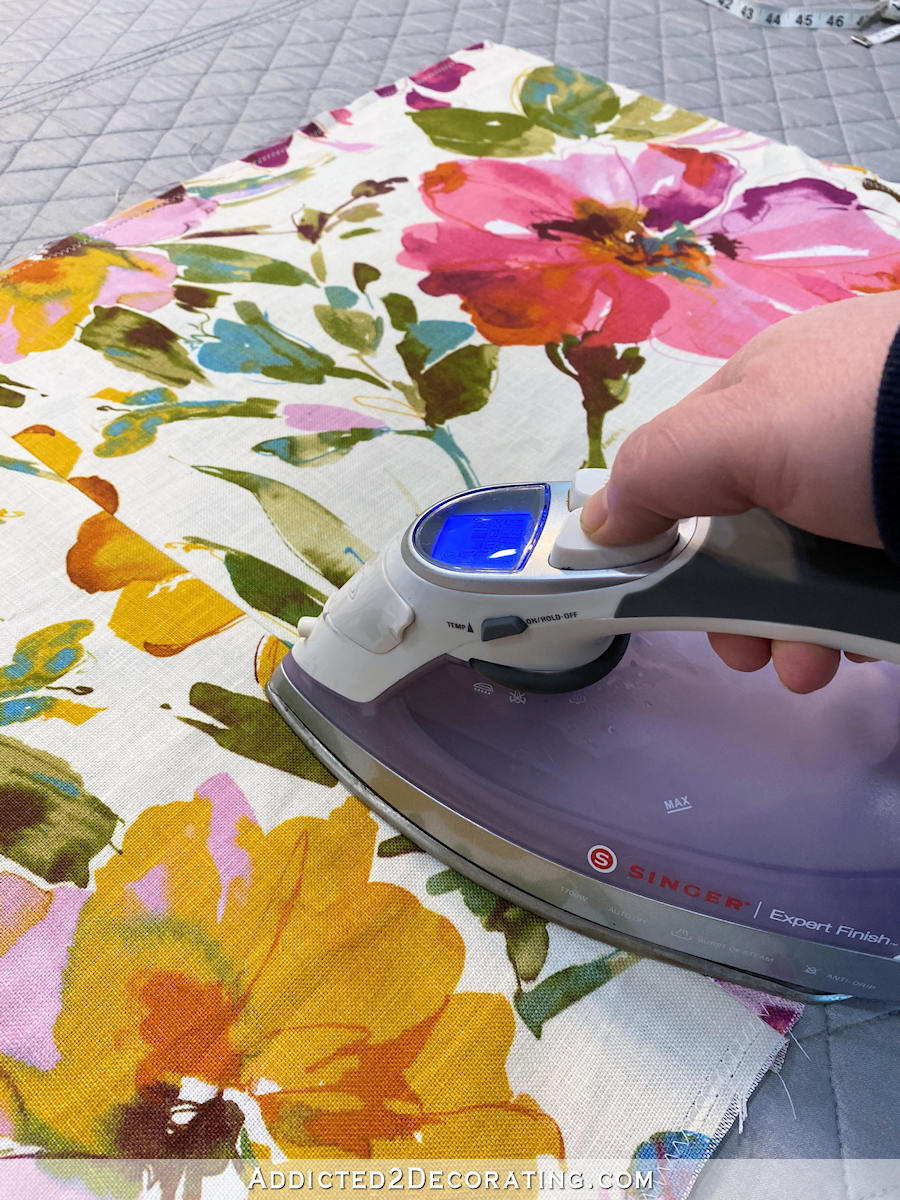
After sewing the bottom seam, I used my steam iron to press the seam open on the back.

And I always press seams open on both sides for a cleaner look, so I flipped it over and ironed the seam on the right side of the fabric.
Then I was ready to pin the zipper into place with the front of the zipper facing down.
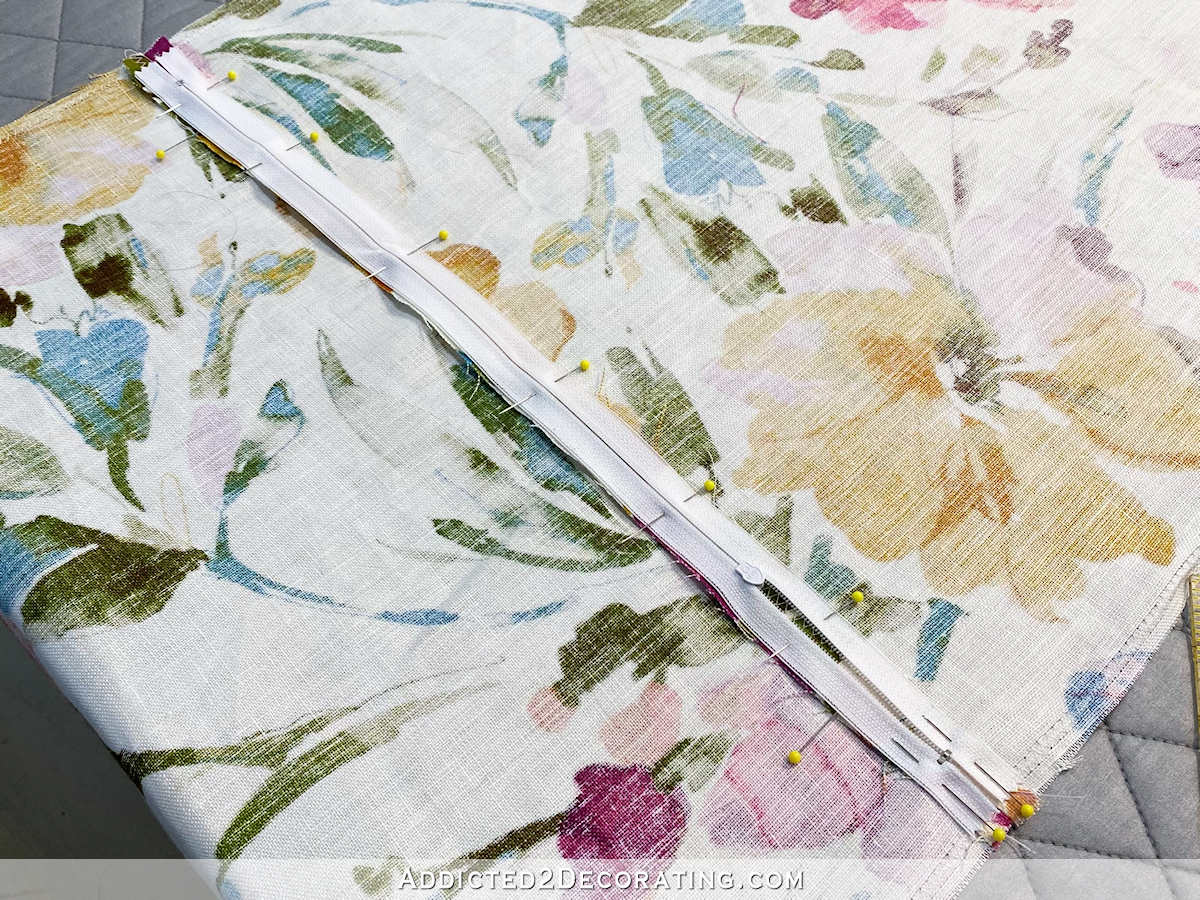
And then I took it to the machine to sew into place. Of course, it’s preferable to use a zipper foot for this, but my zipper foot has been lost ever since I took my machine in for servicing. (They didn’t lose it. I did.) So I had to make do with a regular foot.
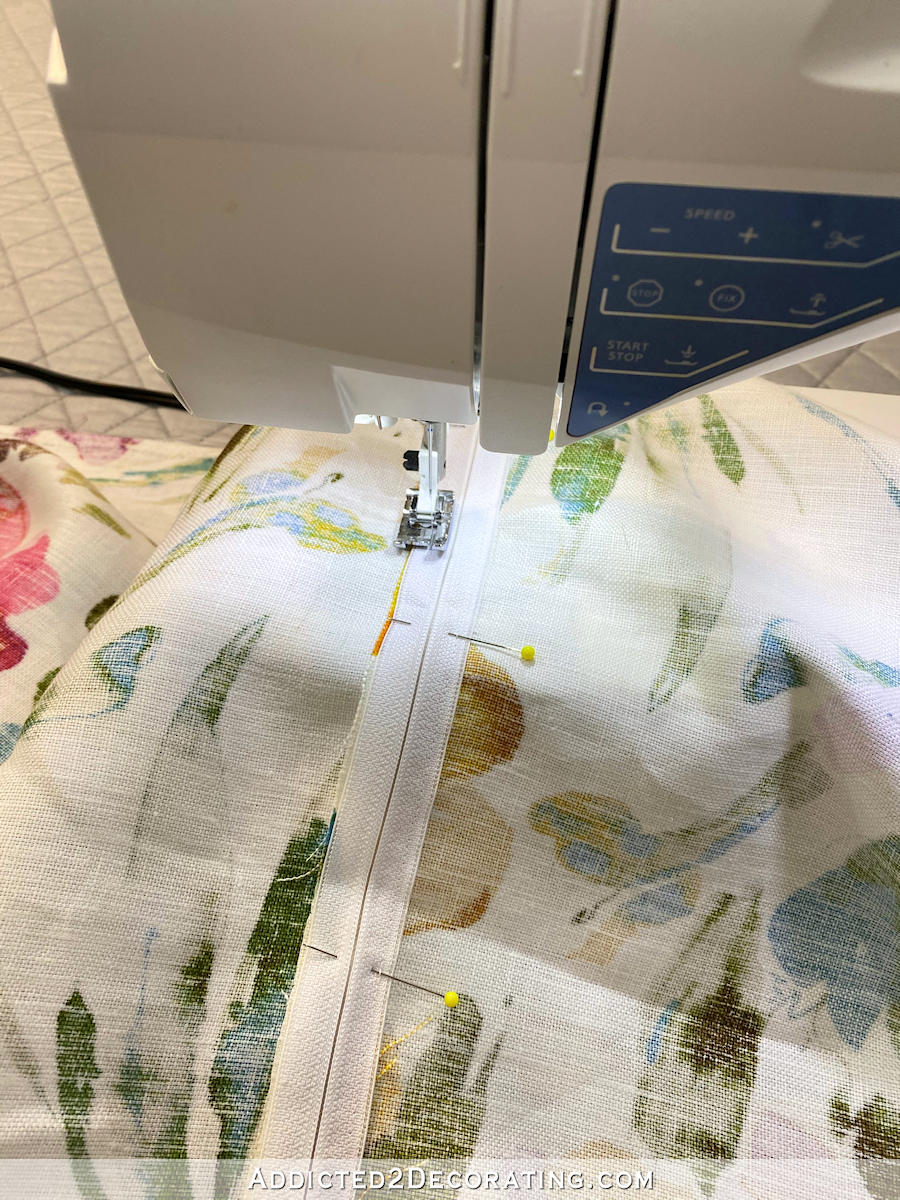
Since you can’t see my actual white stitches on a white zipper, the image below depicts where I stitched the zipper. I stitched along the edges until I got two inches from the edge (i.e., 1/2 inch past the 2.5-inch mark where I changed from a regular stitch to a basting stitch), and then I turned and stitched across the zipper, and then turned again and stitched the other side of the zipper.

Once the zipper was sewn in, I used a stitch ripper and removed the basting stitch. It takes less than a minute to rip out the basting stitch and clean up all of the little threads.
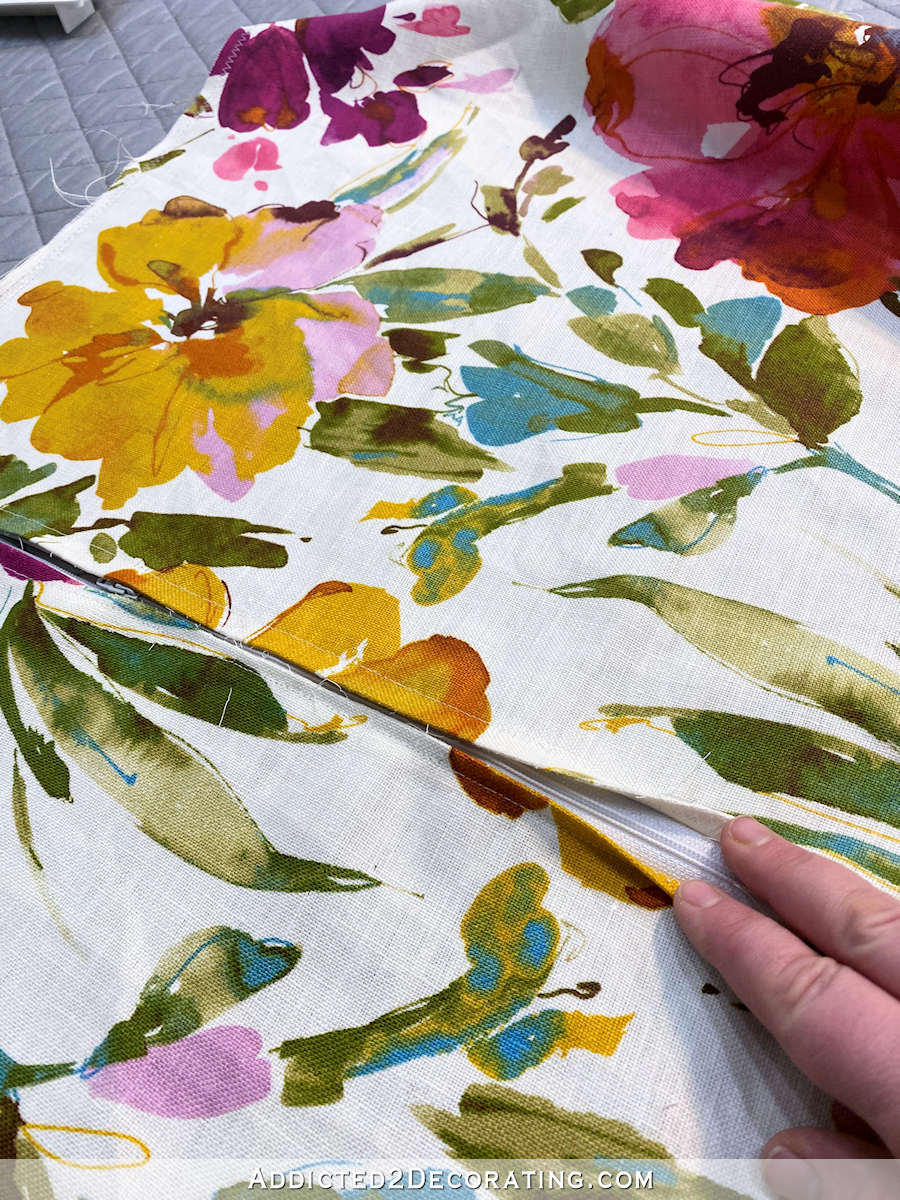
With the zipper in, the hardest part (which is really quite simple) is done!
Next I pinned the other three sides together with the right sides together.
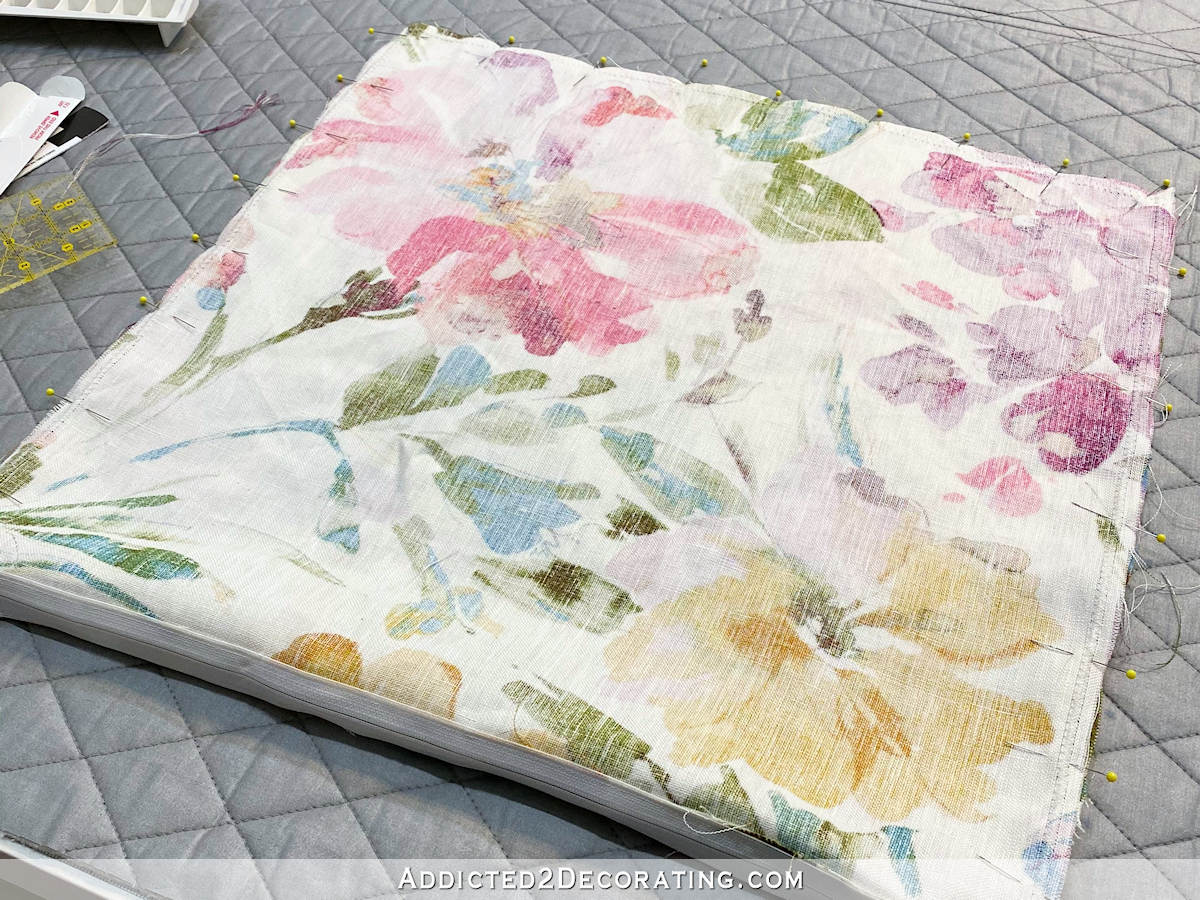
I made sure that I pinned them all the way to the edges on the zipper side.

And then I took it to the machine and sewed all three sides together using a 1/2-inch seam.
When it was sewn together and turned right side out, this is what it looked like.
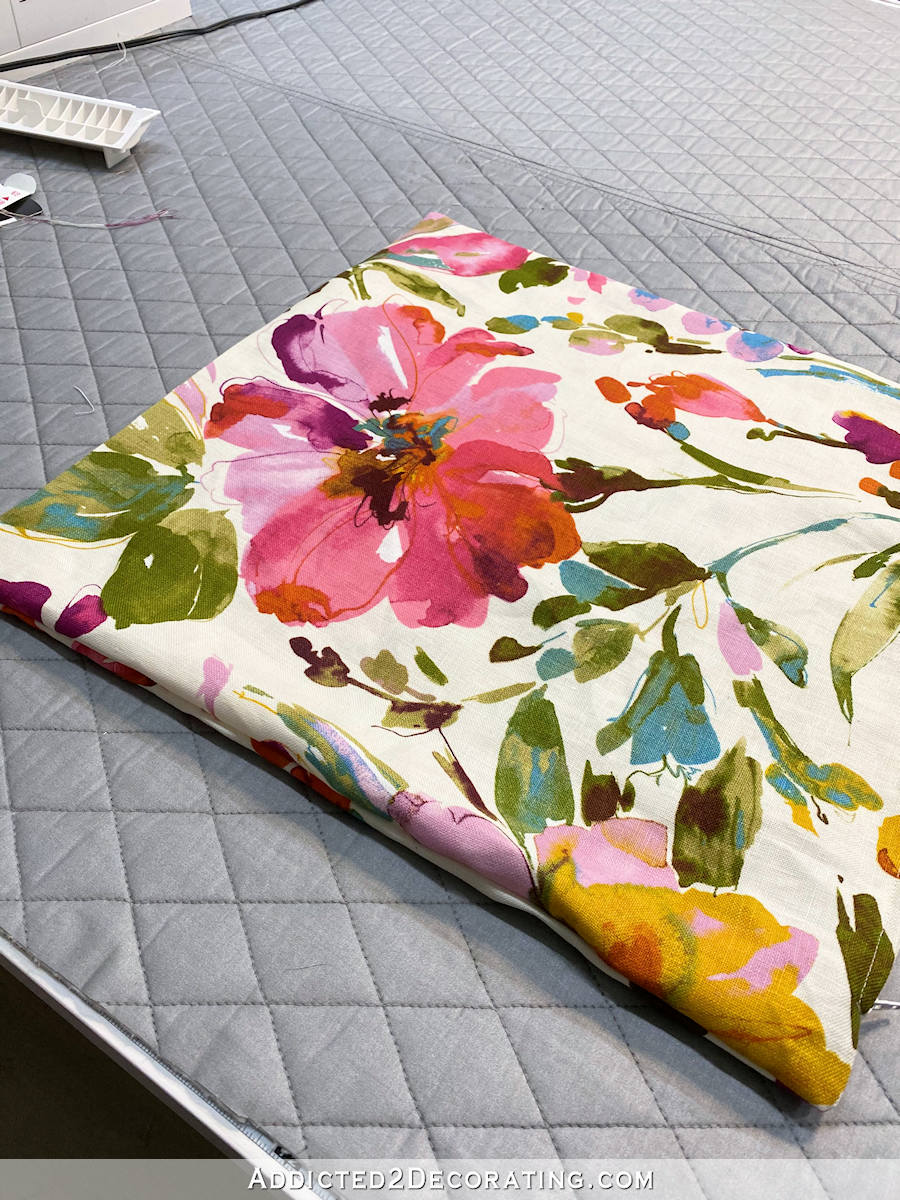
I use a crochet needle to get the corners just right from the inside. Anything long and thin with a blunt end will do to push the corners out as much as possible. You can even purchase a corner turner specifically for this purpose.
And finally, I pressed in the edge seams. It took some working and manipulating and finger pressing to get the edge seam right out to the edge as much as possible, and then I used the steam iron to press in the edge seams.
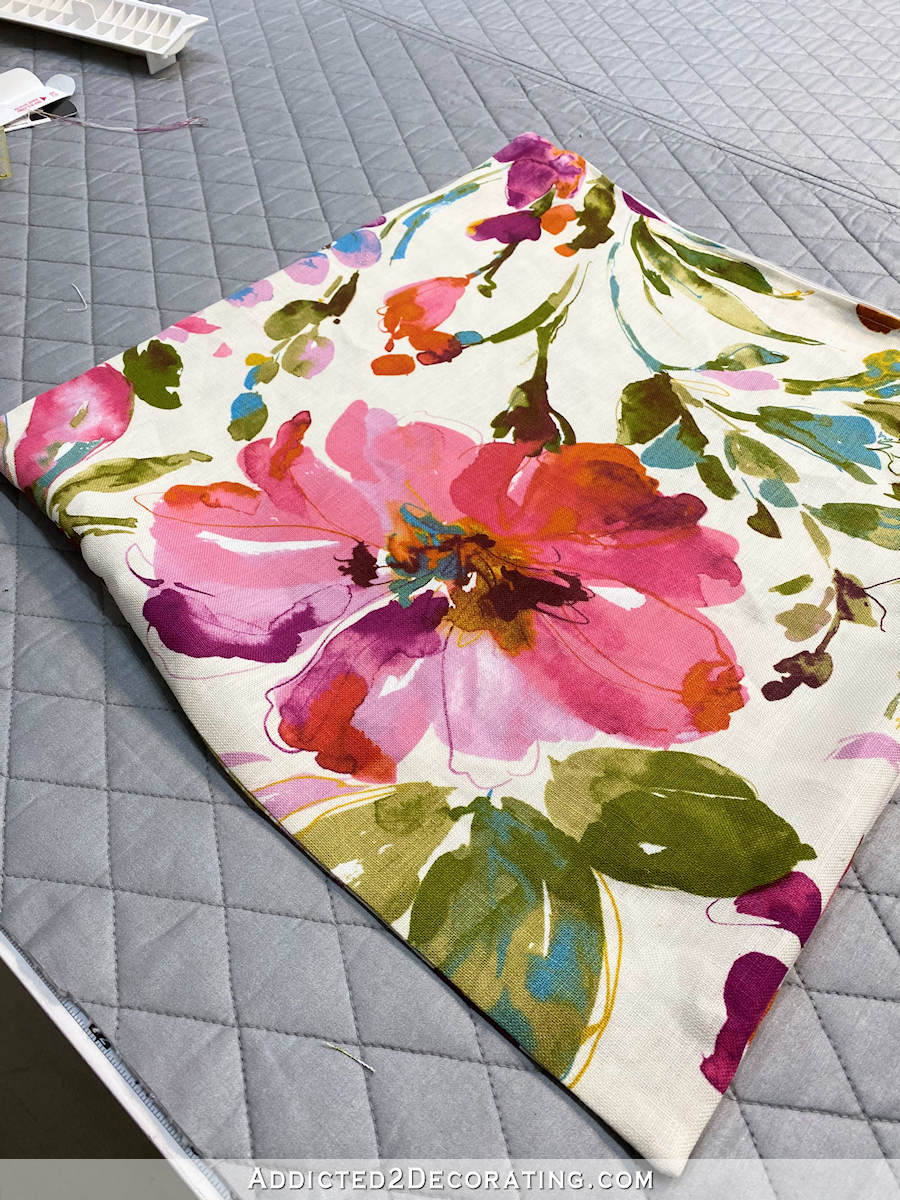
And here’s what it looked like with all of the edge seams ironed.
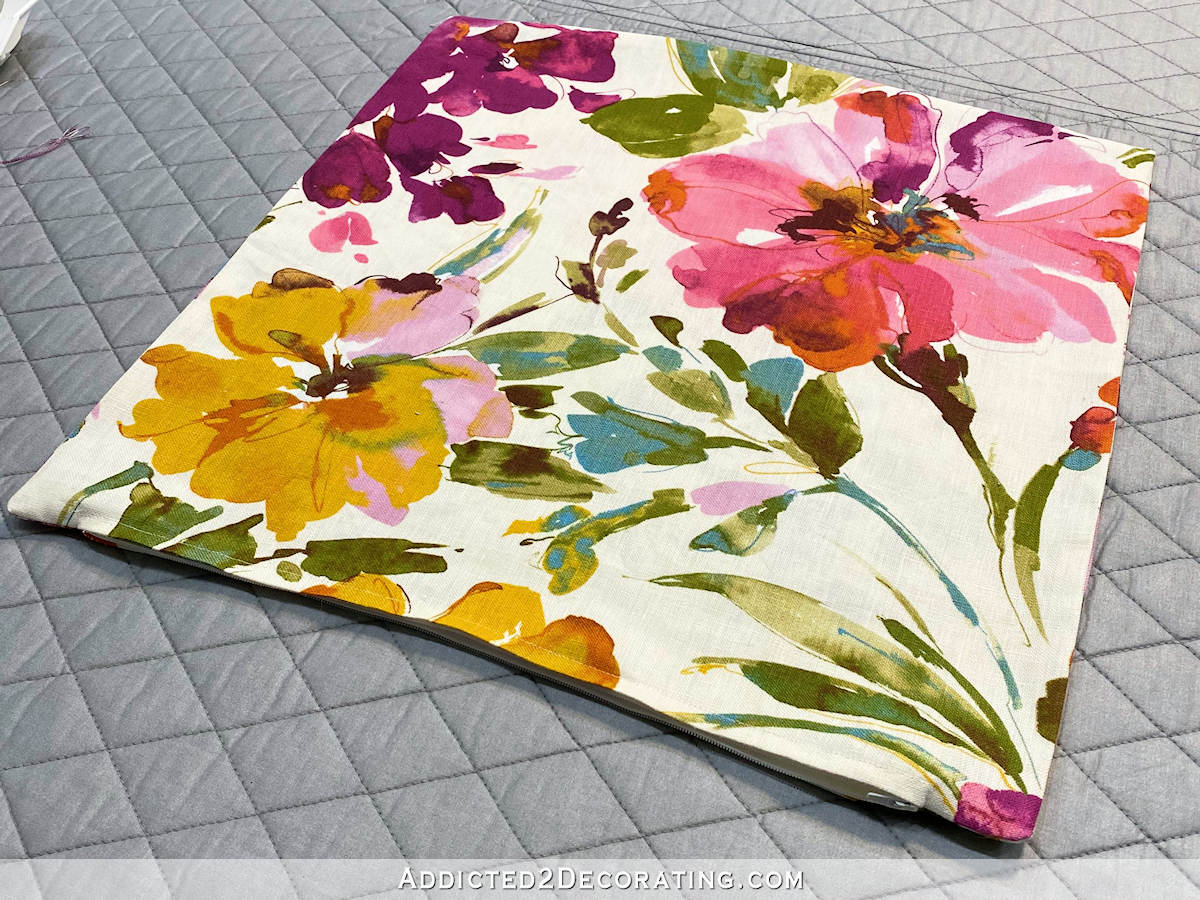
And then all it needed was the pillow insert and a bit of fluffing and making sure the pillow insert filled out all four corners of the pillow cover. (I hate empty, flaccid corners on pillow covers.)
So I got two of these done — one for each purple chair.
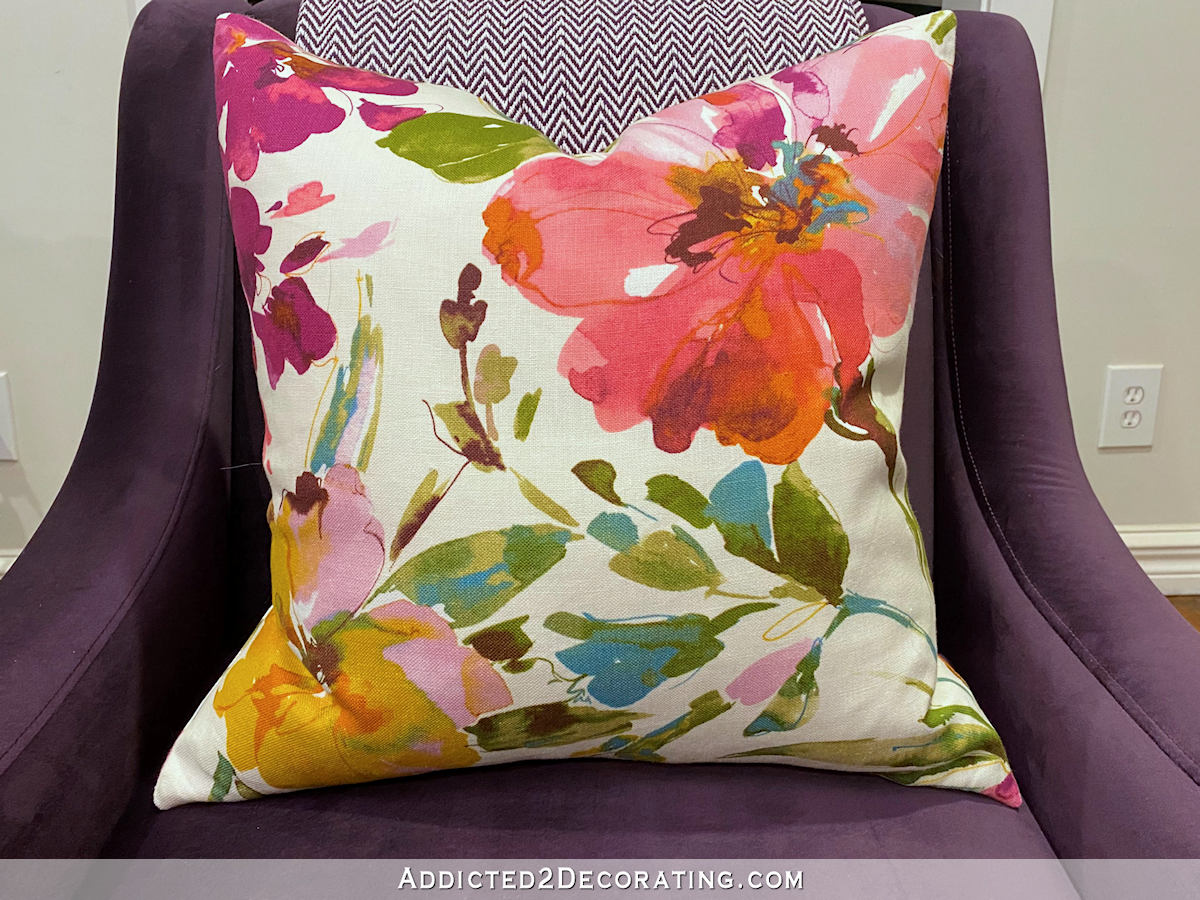
Of course, I’m waiting until the room is finished to show you the full view of the room and the chairs with their new floral pillows. I have to leave at least a little mystery for the final before and after of the room. 😀 It shouldn’t be too much longer!
